Get a Long-Lasting Gel Manicure by Never Skipping These Steps

REAL TALK… Having your nails done is an instant confidence booster, but sometimes it can come at a hefty cost. If you are anything like me, you really don't have the time or patience to sit in the salon for hours and you probably don’t like the idea of having to spend $50 to $90 every two weeks to have decent looking nails. Believe it or not the bi weekly maintenance alone cost up to $2500 + annually! 😲

If you have ever experienced premature chipping and peeling there’s a chance it was caused by improper nail prep. For proper gel polish adhesion, it’s important that the nail plate is dehydrated and free of oils, skin and debris.
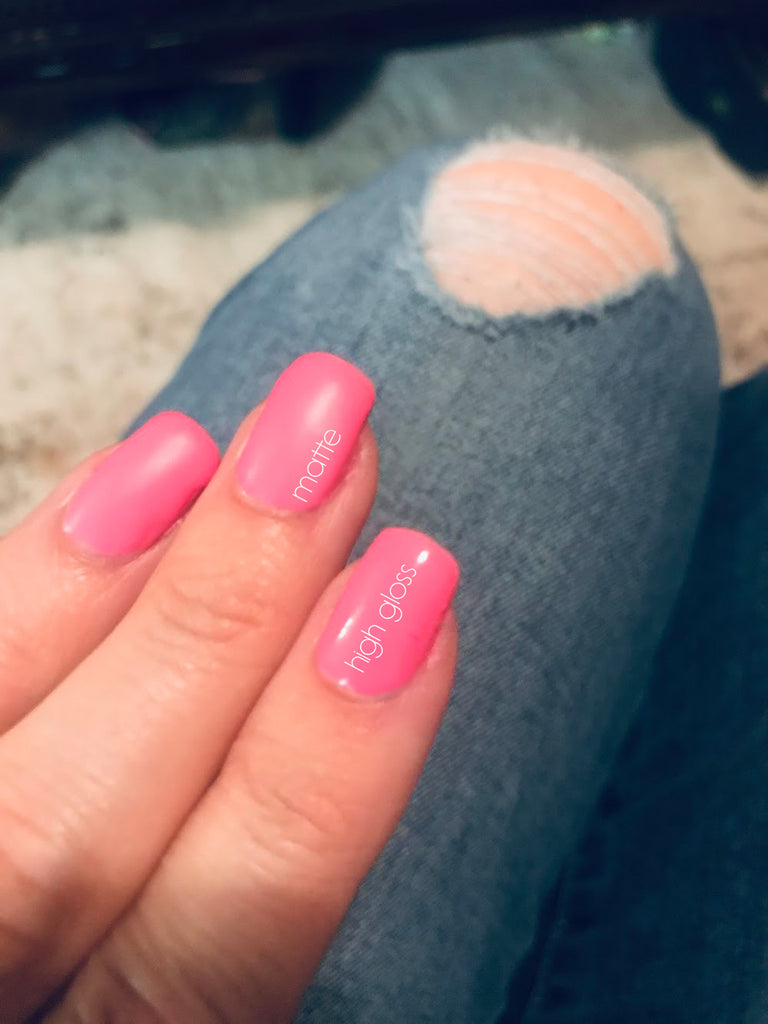
So… if you want to save time⏰, money🤑 and create a flawless long lasting manicure with that hot shade of Enova Gel Polish here are a few tips you should NEVER skip!
Tip #1 – Avoid Water
It is always best to avoid using water and any products that add moisture or oil to your natural nails prior to applying gel nail polish. Additionally, you should never apply gel nail polish right after prolonged exposure to water such as showering or doing dishes. Yes, your fingers and nails may look like a HOT MESS but that’s just part of the prep process and believe it or not it will help with giving more LIFE and longevity to your manicure.

Tip #2 – Cuticle Care
Basically, the cuticle is the dead skin that attaches to the nail plate at the base of the nail, and it needs to be properly pushed back and removed from the nail so that your gel polish can adhere properly. If you apply gel nail polish over the cuticle you will almost definitely have premature lifting around the edges.
To avoid premature lifting, I usually use a cuticle softener cream to soften the cuticle along with a 3-N-1 Cuticle Pusher, Scraper & Nail Cleaner Tool to push the cuticle off the nail plate. When pushing the cuticle back you want to use a small, gentle circular motion. It’s also important to use a cuticle softener that doesn’t have oils in it since the objective is to keep the nails free of oil and moisture during prep.

After pushing the cuticles back, you can use cuticle nippers if there is excess dead skin visible, but this needs to be done very carefully. You only want to nip the dead skin which appears white in color, and not any live tissue (the eponychium). Most dermatologists DO NOT recommend cutting your cuticles due to the fact that cutting them can potentially create additional exposure for irritation or infection. I recommend using a Birchwood stick, or our NEW 3-N-1 Cuticle Pusher which can also be used as a nail cleaner and gel scraper when combined with our Strip'd Gel Remover.

Tip #3 - Buffing
After caring for your beautiful cuticles, gently buff the nail plate with a fine grit buffer similar to our Buff Baby Nail Buffer. This will aid to loosen any remaining dead skin or unevenness from the nail plate and will help with removing the shine. Be sure to buff the entire nail plate from edge to edge!

Tip #4 – Clean & Prime
After buffing your nails you will need to remove the debris as well as any excess oils using a lint-free wipe and a cleanser. I personally recommend using acetone or 99% isopropyl alcohol-based cleanser to really dehydrate the nail plate and remove the oils for the best adhesion. From previous experience and testing, I discovered that using alcohol prep pads (70%) for this step worked okay, but the acetone and 99% isopropyl worked much better when it came to bonding the nail polish to your nails.
After cleansing the nail you can also optionally use a prep solution, bonder or primer. Primers, bonders and solutions that help with adhesion should only be used if you often experience issues with premature lifting or chipping. I recommend only using primers on the tips or areas where lifting and chipping occur. If you use a primer on the whole nail, removal could be very difficult. Allow the cleanser, bonder and/or primer to completely air dry before proceeding with your gel polish application.
If you are wanting to make it last, get your beautiful hands on our Make It Last Nail Prep Kit to achieve the perfect foundation for your gel nail polish!

XoXo 💋